Do you ever feel like you’re wasting money on expensive toner cartridges? It can be costly to replace them frequently. In this guide, you’ll learn a simple, effective method to clean your toner cartridge, helping you save money and extend its life.
Follow these steps to ensure your cartridge performs at its best and reduces the need for frequent replacements.
Toner cartridges are expensive. It can cost up to $50 for a single cartridge. If you’ve got several printers, it adds up quickly. We’re going to show you How to clean your toner cartridge to save money and get the most out of them.
Why Clean Your Toner Cartridge?

Cleaning your toner cartridge regularly is crucial for maintaining print quality and cartridge longevity. As the cartridge ages, it can become less effective and may begin to clog or jam. In severe cases, this can even lead to print head damage.
Regular cleaning helps prevent these issues and ensures your printer functions smoothly. Aim to clean your toner cartridge every month to keep it in top condition.
It’s a common misconception that cleaning a toner cartridge is only necessary when your printer starts acting up. In fact, it is recommended that you clean your toner cartridge every month.
This will keep your printer working as smoothly as possible, which in turn will keep you from paying too much for a toner cartridge replacement.
So what can you do about it? There are three ways to deal with this problem: replace the cartridge, clean the cartridge, or repair the print head.
Replacing the cartridge
If the cartridge is no longer performing well, your first option is to replace it. It is not a big deal, but it does require an initial investment. It also means you will need to buy a new printer and a new cartridge. Depending on how old the cartridge is, it might still be under warranty.
However, the most important reason to replace the cartridge is that it is cheaper than repairing it. Most cartridges will last 3-5 years. This means you can go through one every year without too much hassle. However, if the cartridge is old, it could take months to replace. This can be a real pain when you’re trying to schedule it around your schedule.
There are two basic types of toner cartridges: disposable and refillable.
Disposable
With a disposable cartridge, it is a one-time use. Once you’ve used the cartridge, you throw it away. It is cheap, but it won’t last very long.
Refillable
With a refillable cartridge, you don’t throw away the cartridge after you’ve used it. Instead, you buy new cartridges as needed.
Refillable toner cartridges are more expensive, but you get a lot more bang for your buck. They usually last longer than disposable ones.
Let’s take a look at the different parts of a toner cartridge
Learn more about what toner is made of in our article What Is Toner Made Of?
The First Layer:
When a toner cartridge is brand new, it has a solid layer of toner on the top. This layer helps the toner be evenly distributed throughout the cartridge.
The Second Layer:
As time goes on, the first layer gets worn down and the toner begins to spill over onto the second layer.
The Third Layer:
After a while, the second layer wears away completely and the third layer of toner is exposed. This is when you need to replace your toner cartridge.
Have you ever tried cleaning your toner cartridge? What challenges did you face? We’d love to hear about your experience in the comments below!
How to Clean Your Toner Cartridge
Now that you know why you should clean your toner cartridge, it’s time to learn how to clean it.

You’ll need the following items to clean your toner cartridge:
- A rag or paper towel
- A bottle of distilled water
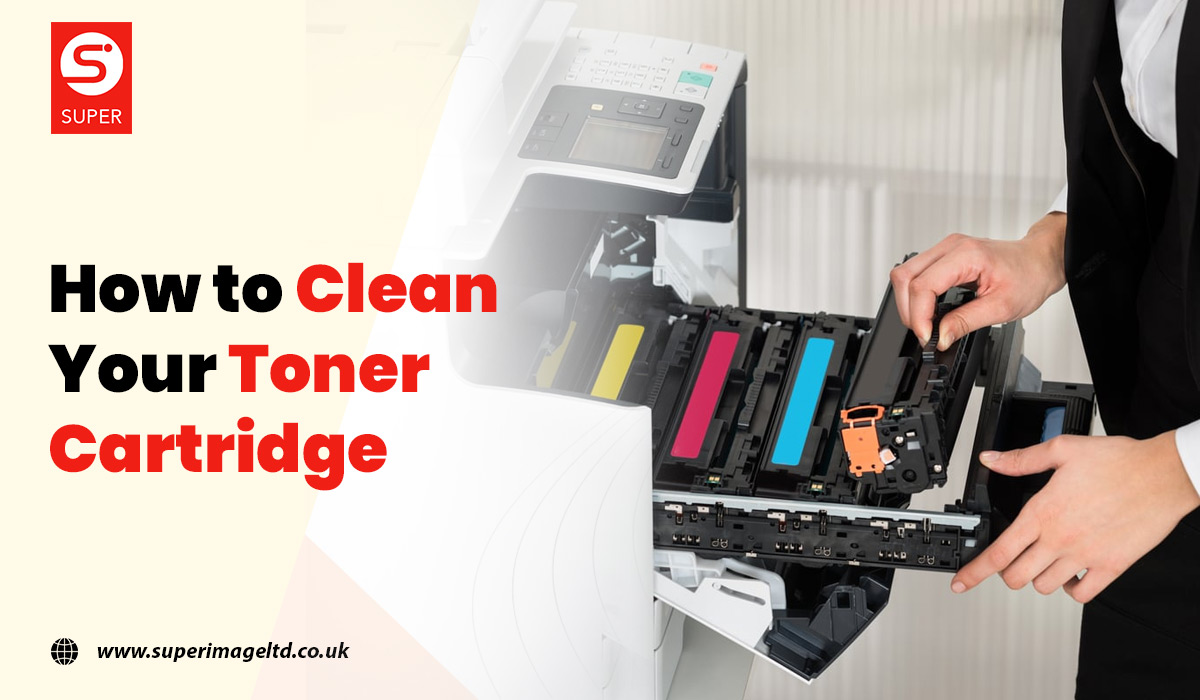
Step 1: Remove the Toner Cartridge From Your Printer
- The first thing you’ll need to do is remove your toner cartridge from your printer.
- To do this, open the front panel of your printer and remove the toner cartridge.
- Be careful not to lose any toner during this process.
- Once you’ve removed the cartridge, place it face down on a flat surface.
Step 2: Spray the Top Layer With Water
- Spray a small amount of water on the top of the toner cartridge.
- This is where the toner spills over. It doesn’t matter if some of the toner lands on the bottom, as long as the majority of it lands on the top.
- If you don’t want to spray water on the toner cartridge, you can also use a rag instead.
Step 3: Gently Rub the Surface with the Rag or Paper Towel
- Using a rag or paper towel, gently rub the top of the toner cartridge to remove the remaining toner.
- If you don’t rub hard enough, the toner will begin to spill out of the cartridge.
Step 4: Replace the Cartridge
- Replace your toner cartridge and close the front panel.
- Make sure to use the right cartridge for your printer.
- If you’re unsure
Conclusion
Regularly cleaning your toner cartridge not only extends its life but also ensures better print quality. By following these steps, you can avoid frequent replacements and reduce printing costs. Remember to check and clean your cartridge monthly for optimal performance.
I’ve been using this system for years. And it works. It is simple. And it saves you tons of money. Do you have any tips to share?