To begin with, we have to make this clear that it is not rocket science to handle and install your toner cartridges correctly, but it may help you save money and keep your printer happy and healthy.
Meanwhile, a few basic actions done while switching cartridges make a tremendous difference in print quality and ink longevity, minimizing annoyances like printer head blockages.
So if you are one of those who has got a huge mess of questions like how to maintain your toner cartridge, how can I make my ink cartridges last longer? How do I clean the inside of a printer cartridge? How long can toner be stored?
Then you are at the perfect spot as we are going to simplify the solutions to your queries below. Keep reading to learn.
How to maintain your toner cartridge
When you use your printer on a regular basis to create color-rich, high-quality photographs and documents for your business, your toner or ink supply will soon deplete.
Moreover, if you need to use your printer regularly, purchasing new toner cartridges depletes your company’s supply budget. You may save money on cartridges by properly maintaining your printer and toner.
Though, you can save toner and money by adjusting your printer’s settings and cleaning the cartridges on a regular basis. A single piece of masking tape can also be used to increase the life of toner cartridges.
Bullet Points to find out how to maintain your toner cartridge:
- If you do not need to print high-quality documents, set your printer to drafts or economy mode. This option utilizes less ink while producing readable paper.
- Print only when necessary. You may not need a paper copy if you can retain an electronic copy of the document on your computer.
- Unless you must print in color, print documents in black and white or grayscale.
- Replace the typeface with Century Gothic or Ecofont. These typefaces use far less toner than fonts like Times New Roman or Arial.
- To prevent toner from drying out, use the printer on a regular basis. When cartridge nozzles are not used for an extended period of time, they become clogged.
- When not in use, turn off the printer. When shut off, the printer maintains the cartridges sealed, preventing the ink from drying out.
- Once a week, use your printer’s cartridge cleaning tool. Printing that is smeared or misaligned can be corrected using this tool.
- To increase the life of unused toner cartridges, store them correctly. Keep the cartridges in their original box until you are ready to use them. Area the cartridges upright in a cool place.
- Allow a printing business to handle huge assignments, particularly if you need to print a lot of color photographs. It may be cheaper expensive to have someone else print the paperwork for you.
- When the low toner warning message shows on your printer, gently shake the toner cartridge back and forth. You may be able to print a few more papers as a result of this.
- Remove the toner from the printer and cover the window or drum with a tiny piece of masking tape. This disables the low-toner sensor, allowing you to continue printing even when the cartridge is low on toner.
However, by following these precautionary measures we can assure you that you would not need to ask how to maintain your toner cartridge ever again.
How often do you need to replace a toner cartridge?

Consider the type of toner in your printer before selecting when to replace it. Because some types of toner last longer or shorter than others, you may use this to predict when it’s time to replace it.
Toner is classified into three types:
- A remanufactured (think recycled) cartridge is a compatible cartridge. It will most likely be the cheapest of the three, but it will also be the most likely to dry up or be faulty. If you want to save money, this is an excellent alternative.
- The basic cartridge is your regular cost-cutting cartridge. It usually provides you with between 10,000 and 12,000 pages. This is an excellent choice for a home user who does not print frequently.
- For most business printers, the high-yield cartridge (sometimes known as a jumbo cartridge) is the favored cartridge option. They provide the greatest bang for your money for busy offices, with up to 25,000-40,000 printed pages.
Also, keep in mind that the real size of the printer cartridge is proportional to the printer’s yield. A regular-yield cartridge will be smaller than a high-yield cartridge. The high yield will also fit more snugly into your printer, but rest certain that it will fit perfectly.
Ok. Now for some money-saving tips!
Rather than just replacing toner as soon as the alert light begins to flash, utilize it as a signal to begin keeping a careful eye on when to change your toner. Remember that you probably still have 10-20% of the toner in the cartridge.
Though, tossing it now would be like burning your hard-earned money. When the printed pages begin to get streaky, lighter, or visibly of lesser quality, it is time to replace them.
Instead, keep track of how many jobs are accomplished on a daily basis. Assume you are using a high-yield print cartridge—once you come near that 10% threshold, or about 2-4,000 pages, start looking for signals that the cartridge is about to run out.
Alternatively, if you have administrative access to your devices, you may print a supply status page straight from your printer. The supply status page will provide information like the percentage of remaining toner, page counts for the cartridge, and so on.
After verifying the status, if the number of pages remaining on the toner exceeds the number required to finish your next print job, you are safe to print.
Hence, we hope that by now you must have thoroughly learned how often do you need to replace a toner cartridge.
How do I clean the inside of a printer cartridge?
Few things are more aggravating than a printer that is not operating correctly. Your papers become smeared, and your work does not appear as nice as it might.
If this is the case, your ink cartridges may need to be cleaned. You may quickly restore your printer by removing the cartridges and wiping away any excess ink using cleaning materials.
So for you, we have structured this step-by-step guide to solving your query about how do I clean the inside of a printer cartridge.
Part 1: Removing the Cartridges from the Printer.
- Before you touch the printer, put on a pair of latex gloves. Ink tends to go everywhere and might be tough to remove from your hands. No concerns if you are allergic to latex! Instead, use rubber or vinyl gloves.
- Make sure you have enough gloves on hand. If you clean or reinstall the cartridges while wearing ink-covered gloves, the cleaning process will be slowed.
- First, open the printer, unplug it. It’s critical not to undertake any of this work when a printer is connected in. However, some printers will not let you replace the ink until the printer is connected. If this is the case with your printer, open the lid and remove the cartridges. After that, disconnect the printer and go to the next step.
- If you unplug your printer, open it, and discover that you can’t remove the cartridges, don’t try to push them out. You risk damaging your printer’s internals.
- To remove the cartridges, open your printer. To access the ink cartridges, search for a flap just above where the printer paper sits and raise it up to show the inside of the printer. Then, search for two cartridges on one side of the printer.
- This flap should simply pull up, so there’s no need to be strong while opening the printer.
- Remove the cartridges one by one. Press the top of each cartridge to release it from the cartridge holder. The cartridges fit firmly into their holders, so wriggle them a little to loosen them up! Then, take each one out of the printer one at a time.
- If you are overly hard, you may harm the cartridges or the location where they are stored.
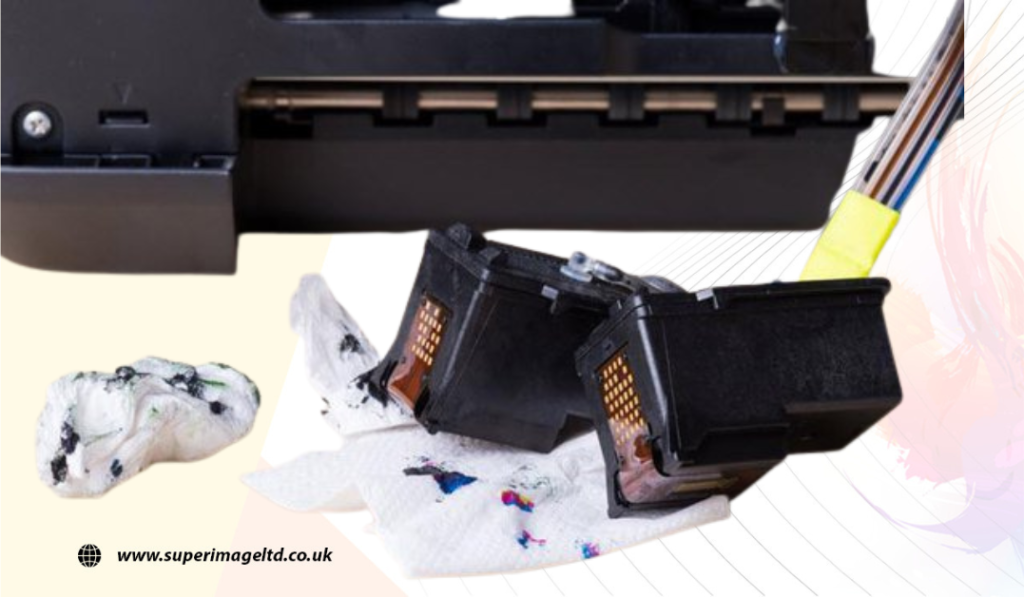
Pt. 2: Scrubbing your Ink Cartridge.
- Wipe the cartridges’ exteriors using a paper towel. Fold a paper towel in half and then in fourths. Then, pour a cap of isopropyl alcohol into a cloth and carefully massage it around the back and underneath of the cartridges to remove the ink buildup.
- Rub the cartridge several times to verify that any excess ink has been removed.
- Using a damp cotton swab, clean the print head. The print head is the region that surrounds the ink cartridge. Soak the cotton swab in warm water and run it lightly along the print head. For a thorough clean, go over the print head with the end of the cotton swab many times. Use distilled water if you are concerned about mineral deposits in your tap water.
- Distilled water may be purchased at your local grocery store or ordered online.
- Using a separate moist cotton swab, scrub the colorful circuitry strip. This strip is positioned on the ink cartridge’s rear. Apply a few drops of water to a cotton swab and gently clean the circuitry by moving the swab back and forth over it.
- Go over the strip 3-4 times to ensure it’s completely clean.
- Remove any excess water from the ink cartridges and allow them to dry. Wipe the print head and circuits with an unused cotton swab to ensure the cartridges are dry. The cartridges should then be allowed to dry for 15 minutes after being placed on a paper towel.
- When drying the cartridge, make sure the circuitry is face up.
Part 3: Reinstalling the cartridge.
- Replace the cartridges in their holders. Replace the cartridges by pressing them down and inserting them into their holders. A clicking sound should indicate that the cartridge has been snapped back into place.
- To ensure that the cartridges are not loose, wiggle them with your thumb and index finger. They should fit inside the cartridge holders tightly.
- Close the printer and reconnect it. Pull down the printer lid and reconnect the machine. Turn on the printer and wait a few seconds for it to restart.
- You don’t want to assume that the printer is working correctly again, so take this opportunity to double-check everything.
- Print a paper to test your printer. Make part of the paper black and white and part of its color to ensure that both cartridges are operational again. You don’t have to complete the page with words or photos, so simply write a few phrases.
Then, copy and paste the sentences into another section of the page. Highlight the sentences and change the color of the words. Print the paper to examine how firm the ink is and how vibrant the colors are.
- You simply need one sheet of paper for this.
Hence, we hope that by now you must have got your solution to your query of how do I clean the inside of a printer cartridge.
How long can toner be stored?
For years, most major cartridge manufacturers have included an expiration date on their cartridges. To begin, consider the shelf life of a printer cartridge:
However, cartridge shelf life is the amount of time a cartridge is expected to last in its sealed packaging. This time frame might vary based on the type of cartridge used.
An original printer cartridge has a shelf life of 24 months, whereas a compatible cartridge has a shelf life of 36 months. Ink dries out and collects within the cartridge over time, causing your printer to clog.
So in order to avoid clogging, we recommend printing once every two weeks to keep your cartridges primed. Toner cartridges will not dry up as quickly as ink cartridges due to the plastic nature of toner powder, however, internal cartridge components might wear out over time.
Hence, this is how long can toner be stored if kept with care.
Conclusion
Knowing where to begin is 90% of ink cartridge and printer upkeep. Maintaining your printer on a regular basis allows you to receive higher-quality prints for less money in the long term.
When you include these suggestions in your daily routine, you will have a happier and healthier printer that will give you fewer headaches.
Henceforth we are glad that you chose us to learn how to maintain your toner cartridge. Do not forget to share your valuable experience you had while reading this article.
Additional Resource
FAQ’s
Clean your toner cartridge every 3-6 months or when print quality diminishes.
Yes, use the printer regularly to prevent toner from settling, and store cartridges in a cool, dry place.
Keep them in their original packaging, stored upright, in a cool, dark place to maintain optimal performance.
Ensure the paper you use is compatible with your printer, and always follow proper installation procedures.
Yes, gently shake the toner cartridge side to side to evenly distribute the toner for better print quality.