Printers are amazing devices, but sometimes they can act up, especially when it comes to ink cartridges. If you’re having trouble with your printer, don’t worry! This guide will help you understand and fix common ink cartridge problems step by step.
Understanding Cartridge Ink Problems
Cartridge Errors: Sometimes, your printer might show an error message about the cartridge. This could be because the cartridge isn’t installed correctly, or the printer needs an update.
Ink Level Issues: Ever wonder how your printer knows when it’s running out of ink? It’s all thanks to a special chip on the cartridge. But sometimes, this chip might not show the right ink level, even if there’s still ink left.
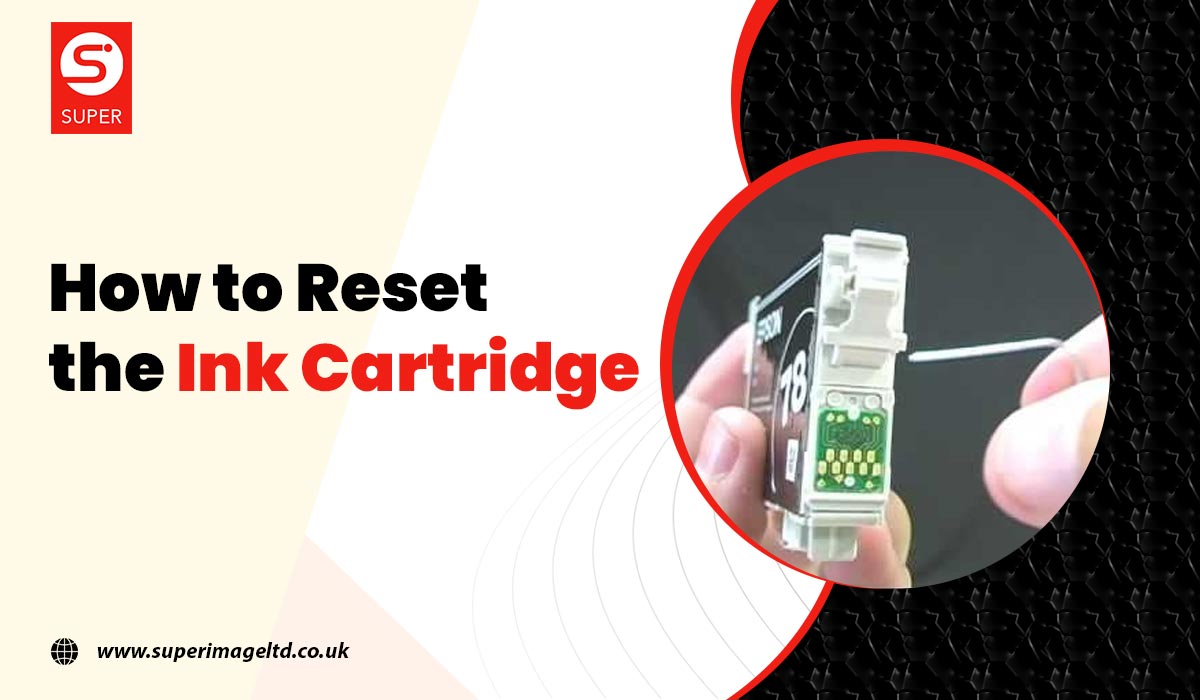
How to Reset the Ink Cartridge: 3 ways
Check Compatibility: First, make sure your printer can reset cartridges. Not all printers can do this trick!
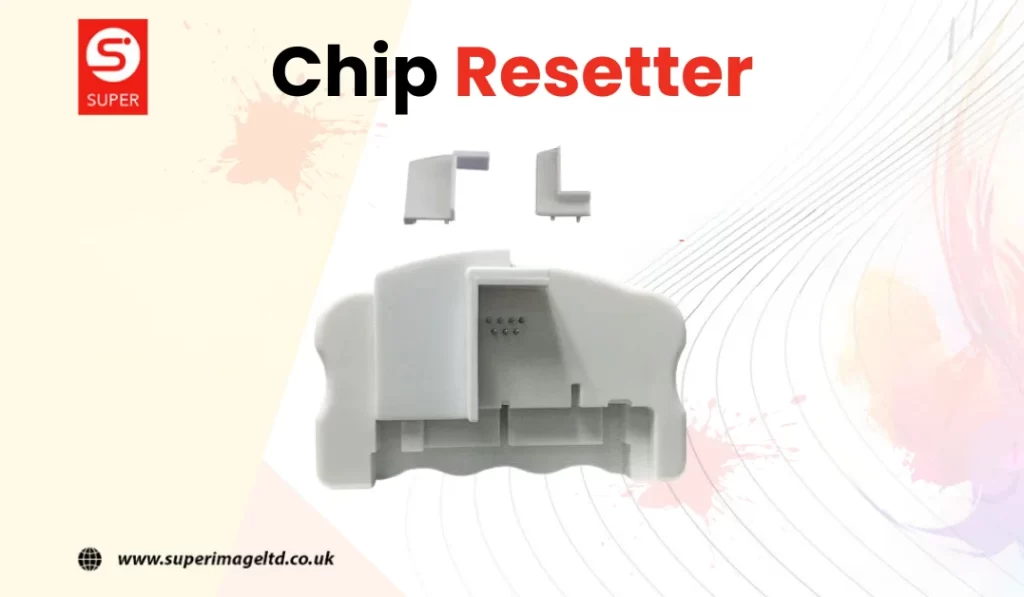
1. Utilizing a Chip Resetter:
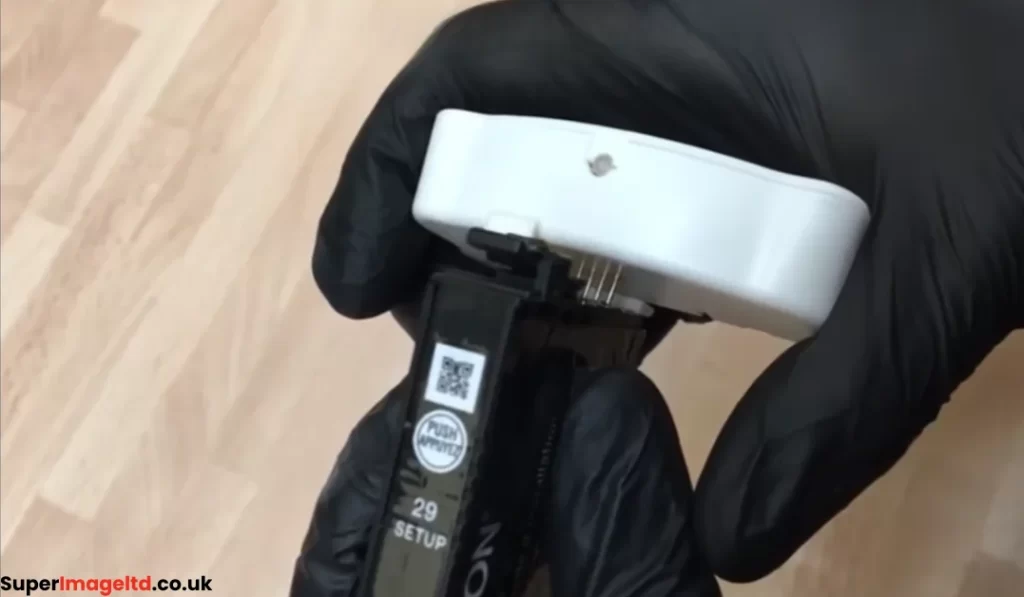
Chip resetters are essential tools for resolving recognition errors and ink level discrepancies. Let’s break down the process:
- Step 1: Selecting the Right Tool: Choose a chip resetter compatible with your printer model and cartridge type. Brands like InkOwl and UniPrint offer reliable options.
- Step 2: Preparation: Remove the ink cartridge from the printer and inspect it for any damage or leaks.
- Step 3: Connection: Align the resetter’s pins with the cartridge’s chip and securely connect them.
- Step 4: Reset Process: Follow the resetter’s instructions precisely to initiate the reset process. This may involve pressing specific buttons or following on-screen prompts.
- Step 5: Reinstallation: After resetting, reinstall the cartridge into the printer, ensuring it’s properly seated and secured.
- Step 6: Testing: Print a test page to confirm that the cartridge is recognized and functioning correctly.
2. Software Reset:
Many printer manufacturers offer software utilities for ink cartridge resets. Here’s how to leverage this option:
- Step 1: Software Acquisition: Download the appropriate software for your printer model from the manufacturer’s official website.
- Step 2: Installation: Install the software on your computer following the provided instructions carefully.
- Step 3: Printer Connection: Ensure your printer is connected to your computer via USB or Wi-Fi.
- Step 4: Software Operation: Launch the software and navigate to the ink cartridge reset option.
- Step 5: Reset Initiation: Follow the prompts to select your printer model and initiate the reset process.
- Step 6: Verification: Print a test page to confirm proper recognition and functionality of the ink cartridge.
3. Manual Reset (Advanced):
Manual resetting involves physical manipulation of the cartridge’s electronic chip. Here’s how to proceed cautiously:
- Step 1: Tool Preparation: Gather a small screwdriver, tweezers, and ensure you have a stable work surface.
- Step 2: Chip Identification: Locate the electronic chip on the ink cartridge, typically located on the side or bottom.
- Step 3: Chip Removal: Use the screwdriver to carefully pry the chip off the cartridge, taking care not to damage it.
- Step 4: Reset Process: With tweezers, short the contacts on the chip according to the manufacturer’s instructions precisely.
- Step 5: Chip Reattachment: Carefully reattach the chip to the cartridge, ensuring it’s aligned correctly.
- Step 6: Reinstallation: Insert the cartridge into the printer and print a test page to confirm functionality.
Solutions to Common Ink Cartridge Issues
Now, let’s address some of the most common questions and concerns related to ink cartridge errors and ink level resets:
1. Resetting Ink Levels:

If your printer displays an error indicating low ink levels, you may need to reset the ink level indicator. Here’s how you can do it:
- Navigate Printer Settings: Access your printer’s settings menu either through the control panel or the printer software on your computer.
- Locate Ink Levels: Look for the option to view or reset ink levels. This may vary depending on your printer model.
- Follow Prompts: Follow the on-screen prompts to reset the ink levels. Some printers may require you to confirm the action.
2. Resetting Cartridge Chips:
Resetting the cartridge chip can help resolve issues related to compatibility or communication errors. Here are the steps:
- Remove Cartridge: Take out the problematic ink cartridge from the printer.
- Locate Chip Resetter: If you have a chip resetter tool, carefully align it with the cartridge chip and follow the instructions provided with the resetter.
- Reinstall Cartridge: Once the chip is reset, reinstall the cartridge into the printer and see if the error persists.
3. Cleaning Cartridges:
If you’re experiencing print quality issues due to clogged cartridges, manual cleaning may be necessary:
- Remove Cartridge: Take out the ink cartridge that needs cleaning.
- Inspect Cartridge: Check for any visible clogs or dried ink on the cartridge nozzles.
- Clean Nozzles: Gently wipe the cartridge nozzles with a lint-free cloth dampened with water or a specialized cleaning solution.
- Allow to Dry: Once cleaned, allow the cartridge to dry completely before reinstalling it into the printer.
4. HP Ink Cartridge Issues:
HP printers are widely used, and if you’re facing issues specific to HP ink cartridges, consider the following steps:
- Update Firmware: Ensure your printer’s firmware is up to date, as manufacturers often release updates to address compatibility issues.
- Use Genuine Cartridges: HP recommends using genuine HP ink cartridges to ensure optimal performance and compatibility.
- Contact Support: If the issue persists, reach out to HP support for further assistance and troubleshooting.
5. Removing and Reinstalling Cartridges:
If you need to remove or reinstall ink cartridges, follow these general steps:
- Power Off Printer: Turn off the printer and wait for it to cool down.
- Open Cartridge Access: Open the printer’s cartridge access door or lid to gain access to the cartridges.
- Remove Cartridge: Carefully remove the cartridge by pressing down on the release tab or lever.
- Reinstall Cartridge: Insert the cartridge back into its slot, ensuring it clicks into place securely.
- Close Access Door: Close the cartridge access door or lid, power on the printer and reactivate the cartridge.
Conclusion
In conclusion, fixing ink cartridge problems might seem tricky at first, but with the right steps, you can do it! Remember to follow the instructions carefully, whether you’re resetting ink levels, cleaning cartridges, or troubleshooting errors.
Always use the right cartridges for your printer and ask for help if you need it. With a little practice and patience, you’ll be able to keep your printer running smoothly and print all your important stuff without any worries!
FAQs
Yes, many printers offer an option to reset ink cartridges directly from the printer’s control panel or through the printer’s software interface.
Resetting your ink cartridge allows your printer to recognize it as a new cartridge, ensuring accurate ink level readings and optimal printing quality.
Reset your ink cartridge when your printer indicates low ink levels or if you’ve refilled the cartridge yourself to ensure proper functionality.
After resetting, your printer should display accurate ink levels, and you should be able to resume printing without any error messages.
While specific methods may vary depending on your printer model and cartridge type, most printers offer a straightforward process for resetting ink cartridges.